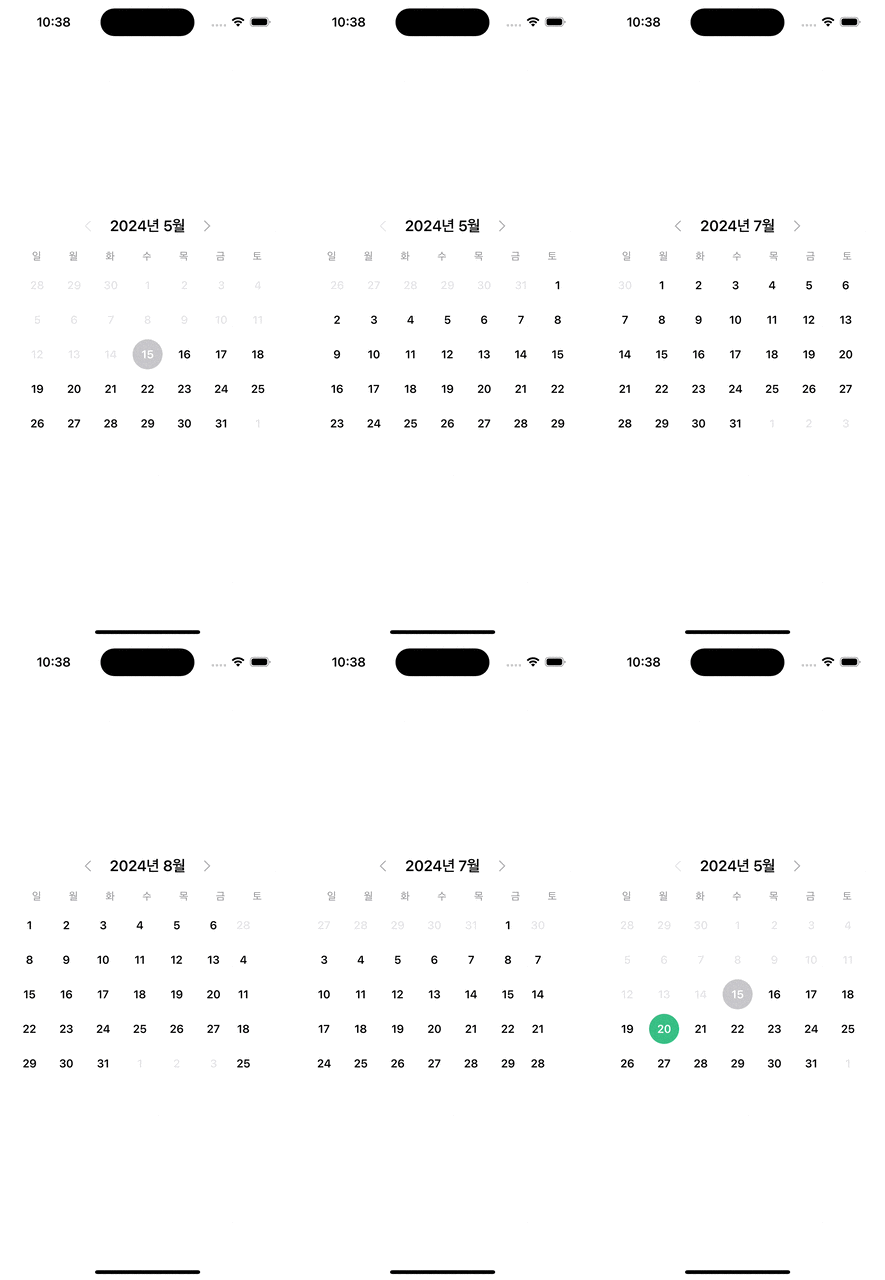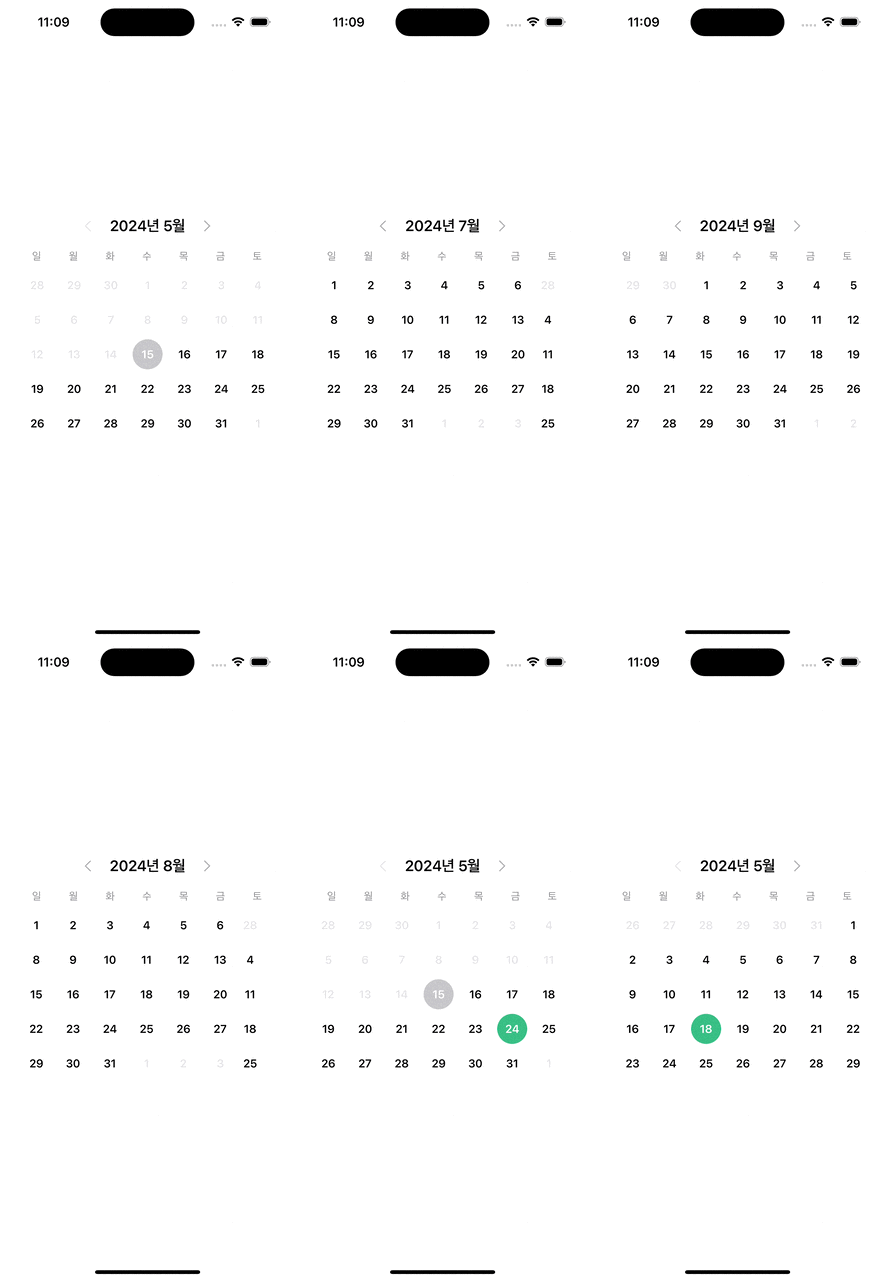
저번 포스팅에서 구현했던 Custom Calendar를 Single Selection을 지원하도록 구현해 보자.
자세한 구현은 여기에서 확인해볼 수 있다.
https://github.com/jungseokyoung-cloud/iOS-Study/tree/main/Custom%20Calendar
iOS-Study/Custom Calendar at main · jungseokyoung-cloud/iOS-Study
iOS Study Archive. Contribute to jungseokyoung-cloud/iOS-Study development by creating an account on GitHub.
github.com
우선 이를 구현하기 앞서 고려해야 할 부분들이 있다.
- 하나의 Selection만을 지원한다.
- 다른 달에서 날짜를 선택하면, 기존의 선택된 날짜가 포함된 달의 Selected는 해제되어야 한다.
우선 DayCell의 isSelected에 didSet을 통해 선택되었을 때 UI를 변경시켜 주자.
final class DayCell: UICollectionViewCell {
	private var type: DateType = .default

	override var isSelected: Bool {
		didSet {
			self.setupUI(for: type, isSelected: isSelected)
		}
	}
   ...
}
하나의 달 안에서 Single Selction을 사실 따로 구현할 필요가 없다.
CollectionView의 default는 allowsSelection가 true이고, allowsMultipleSelection fasle이기 때문이다.
즉, 선택을 허용하되 Single Selection이 default이다.
우선, DayCell에서 선택이 일어났음을 상위에 전달하기 위해 Rx를 사용했지만, Delegate 패턴 등등 원하는 패턴을 사용하면 된다.
var selectedDateRelay = PublishRelay<CalendarDate>()

// MARK: - UICollecionViewDelegate
extension CalendarCell: UICollectionViewDelegate {
	func collectionView(_ collectionView: UICollectionView, didSelectItemAt indexPath: IndexPath) {
		selectedDateRelay.accept(dataSource[indexPath.row])
	}

	func collectionView(_ collectionView: UICollectionView, shouldSelectItemAt indexPath: IndexPath) -> Bool {
		guard let cell = collectionView.cellForItem(at: indexPath) else { return false }

		return !cell.isSelected
	}
}
다음으로 CalendarCollectionView의 cellForItemAt에서 CalendarCell의 selectedDateRelay를 바인딩해 주자.
public func collectionView(
	_ collectionView: UICollectionView,
	cellForItemAt indexPath: IndexPath
) -> UICollectionViewCell {
	guard let cell = collectionView.dequeueReusableCell(
		withReuseIdentifier: "CalendarCell",
		for: indexPath
	) as? CalendarCell else {
		return UICollectionViewCell()
	}

	cell.configure(
		dataSource[indexPath.row],
		itemHeight: itemHeight,
		itemSpacing: itemSpacing,
		lineSpacing: lineSpacing
	)

	if let selectedDate = selectedDate {
		let calendarDate = CalendarDate(date: selectedDate)
		cell.selectedDate = calendarDate
	}

	cell.selectedDateRelay
		.bind(with: self) { owner, calendarDate in
			owner.selectedDate = calendarDate.date
		}
		.disposed(by: disposeBag)

	return cell
}
마지막으로 DayCell의 cellForItemAt 메서드에서 다음과 같이 selectedDate인 경우, item을 Select 한다.
func collectionView(_ collectionView: UICollectionView, cellForItemAt indexPath: IndexPath) -> UICollectionViewCell {
	guard let cell = collectionView.dequeueReusableCell(
		withReuseIdentifier: "DayCell",
		for: indexPath
	) as? DayCell else {
		return UICollectionViewCell()
	}

	let calendarDate = dataSource[indexPath.row]

	cell.configure("\(calendarDate.day)", type: calendarDate.type)

	if calendarDate == selectedDate {
		collectionView.selectItem(at: indexPath, animated: false, scrollPosition: .init())
		cell.isSelected = true
	}

	return cell
}
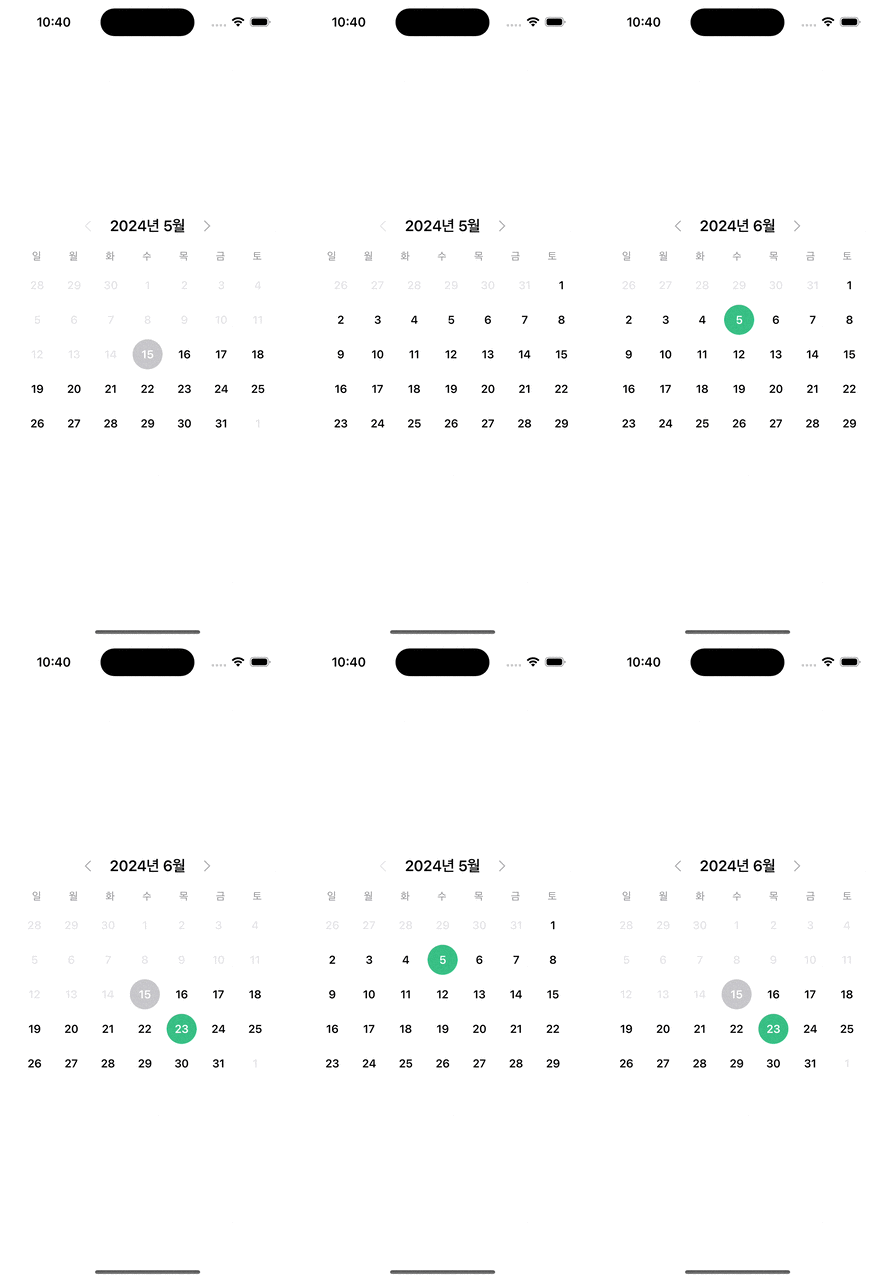
여기까지 진행하면, 다음과 같이 Cell이 메모리에서 해제되어도, 이전의 선택 정보가 남아 있게 된다.

하지만, 만약 다른 페이지에서 선택이 일어난 경우, 이전에 선택이 일어났던 Cell에 대해서 선택을 해제해주어야 한다.

여기에서 발생한 경우는 2가지 경우의 수다.
- 이전의 Cell이 아직 메모리에 남아 있는 경우.
- 이전의 Cell이 재사용되었거나, 해제되어 새로 dequeueing을 하는 경우.
2번째 경우라면, cellForItemAt 메서드가 재 호출될 것이기 때문에, 현재 상황에선 문제가 되지 않는다.
Cell이 아직 남아 있는 경우를 위해 다음과 같이 selectedCell을 프로퍼티로 저장한다. 하지만, 강한 참조의 경우 메모리에서 해제되지 못할 것을 우려해, 약한 참조로 선언해 주었다.
private weak var selectedCell: CalendarCell?

cell.selectedDateRelay
	.bind(with: self) { owner, calendarDate in
		owner.selectedDate = calendarDate.date
		owner.delegate?.didSelect(calendarDate.date)
		if let selectedCell = owner.selectedCell, selectedCell !== cell {
			selectedCell.deSelectAllCell()
		}
		owner.selectedCell = cell
	}
	.disposed(by: disposeBag)
Cell이 아직 메모리에 남아있다면, 이전에 선택되었던 Cell 내의 monthCollectionView의 item을 deselect 한다.
이렇게 되면, 다른 달에서 선택하게 되면, 다른 모든 달에서 해제되게 된다.
즉, Single Selection만 지원하는 달력이 된다.

'iOS > iOS' 카테고리의 다른 글
| [iOS] Custom 영상길이 조절 SliderBar 구현하기 (2) | 2024.12.14 |
|---|---|
| [iOS] Custom Calendar 구현(1) - UI 및 달력 데이터 (1) | 2024.05.15 |
| [iOS] Custom Drop Down (2) - firstResponder 활용해 리팩토링하기 (0) | 2024.03.27 |
| [iOS] Core Animation(1) - Concept (0) | 2024.03.05 |
| [iOS] Render Loop & Hitch(2) (1) | 2024.02.24 |